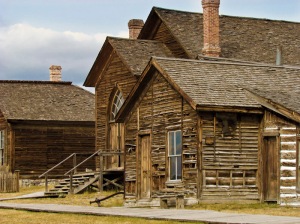
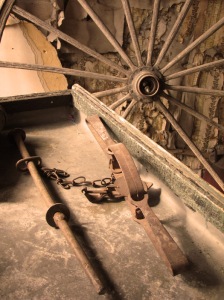
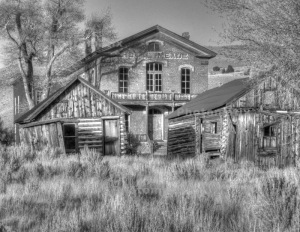
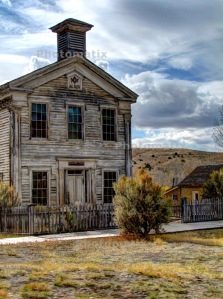
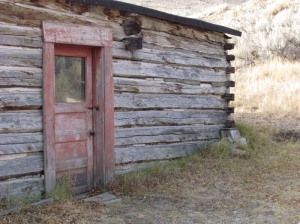
These are all the pictures I didn’t have on my blog, but I put in my photo book.
Contest Submission
I chose to submit my pictures to the Idaho Falls Magazine photo contest. I was looking at other contests to join, but this was the only contest that fit with most of the pictures I have taken throughout this semester. I took these pictures at the beginning of the semester, but I was never a big fan of them. However, now that I know more editing skills and what lighting looks best, I re-edited the photos and I can now tolerate them. Here are my submissions:

1. Bear Love; 9/24/2011; 2:43 pm; Bear World; f/4.5; 1/60; Canon PowerShot A570 IS2. Grizzly Roar; 9/24/2011; 2:01 pm; Bear World; f/5.5; 1/160; Canon PowerShot A570 IS
As I look at these pictures now I wish I had changed more about them. I think I got the black bears too dark, I liked how they looked more like shadows, but now it seems too hard to see. I placed a filter over the picture, because I liked the texture and I think it makes the picture more interesting. As for the grizzly, he’s looking more green than golden brown like I wanted him to. I removed a post from the picture, but now I wish I had removed some of the wiring to make him look like he’s living in the wild. Too late now, but now I know what would look better.
I submitted these pictures on 11/20/2011 to http://www.idahofallsmagazine.com/gallery/contest.cfm
Posters
I decided to do two 18×24 pictures, because a big 24×36 would overtake my small apartment!
Number one:
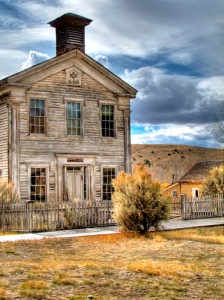
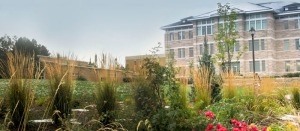
1. School Time; 10/20/2011; 2:15 pm; Bannack Ghost Town; f/5; 1/640; Canon PowerShot SX30 IS; Bracketed HDR done by Photomatix
I processed bracketed photos through Photomatix. Luckily, Photomatix automatically lines up your pictures, because I unfortunately I did not have a tripod at the time. I adjusted the levels and increased the yellow to give the plants a golden look. I then used an adjustment brush to add in a few highlights in the dark spots.
Number two:
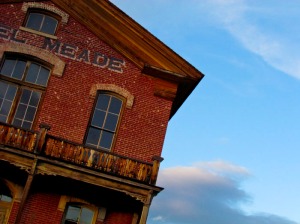
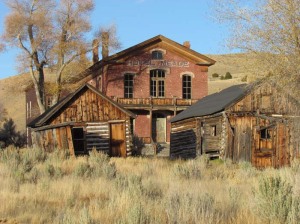
For this one, I processed one picture through Photomatix using tone mapping. I decreased the exposure and added highlights on the plants. I then used the dodge tool to darken the brick color and the door to the hotel. This picture was a lot of work, but it was worth it.
I chose these pictures, because I liked the look of the old buildings and enjoy looking at them. I hesitated printing the hotel picture, because many of the students have done it, but I have never seen this angle done before so I thought I would go for it! As for the school, I was just playing around in Photomatix when I discovered what the program could do and what effects it had on the picture. I love the colors and the sky turned out great. I thoroughly enjoyed our trip to Bannack and am glad I have a few shots to add to my portfolio as well as the walls of my apartment.
Edit: Fine Art Template

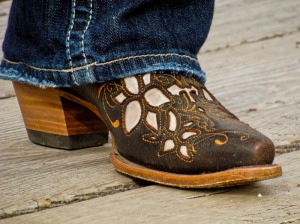
3. Cowboy Gear; 10/20/2011; 7:10 pm; Bannack Ghost Town; f/8; 15 sec.; Canon PowerShot SX30 IS; tripod
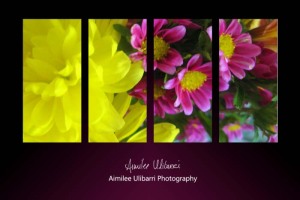
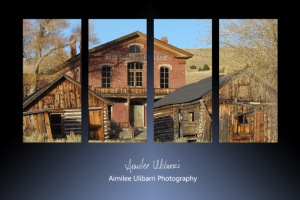
To make the templates I began by making a few rectangles. I then placed a picture with a clipping mask, which put the picture behind the rectangles. To add my own touch to the template I used the gradient tool and took a color from the picture to create contrast at the bottom. Lastly, I made my signature into a brush and placed it at the bottom of the template. To use the template again I just hid the current picture and placed a new one over it with a clipping mask.
Blog 8: Night and Light
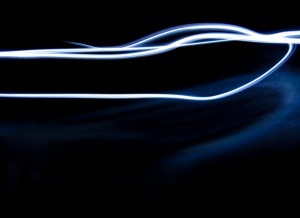
For this one I turned my blue and yellow lamp on and moved the camera around while the shutter was open.
I used a small light to lighten the candles giving them the effect of being lit.
I locked myself in my very dark bathroom and scribbled in the air with a red light.
Instead of standing out in the cold to catch the cars drive by, I put a headlamp on my daughter’s head and had her run back and forth in the dark.
This time I had my daughter run back and forth while holding a spinning light toy.
All of the pictures were slightly edited using level adjustment layers or a black paintbrush to cover part of the background. I do not own a tripod so I made my own using stacked books or counter tops. I set my camera to shutter priority and shortened or lengthened the time depending on how much light I wanted in the picture. Before I took the pictures, I set my camera on a self-timer to prevent the camera from shaking when I pushed the shutter button.
Week 7: Edge Effects
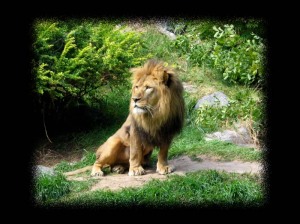
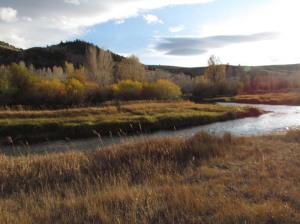
For the Lion border, I used the sprayed edge effect which required me to use the Quick Mask Mode and the sprayed stroke filter. I wanted the brush strokes to be obvious so I increased the radius and the length of the strokes. I chose the black background for better contrast. The second picture is with the burned border. To create the burned border I first darkened a copied layer to create the darker edge. Then I used the rectangle marquee to square out the part of the picture I wanted lighter. As a final touch, I added a brown line to the border by adding a stroke. I chose brown so that it is easier to see the difference between the lighter and darker portions of the sky. The last border edit was done with the flexible vignette border. I first added a blank, new layer. In the layer I applied black, because I wanted a black border. I then used the square marquee to mark out the part of the picture I wanted to show. I feathered the edges of the border and brought down the opacity to 90% and then I was done! After figuring out how to create borders, I really like them, and plan on using them again!
Week 7: Scanography
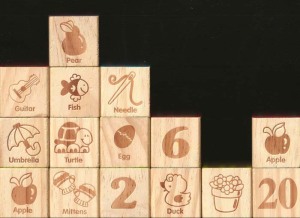
Scanned faces was my first scan, I used my glasses, my husband’s glasses, and Mrs. Potato Head’s glasses. I didn’t like the look of just the glasses so I added some features with the help of Mrs. Potato Head. I scanned the picture, opened it in PhotoShop and increased the vibrancy. The City Lights scan took a little more time, I created three separate skylines with the blocks. I tried creating a panorama of the three pictures, but the pictures wouldn’t line up. Instead I placed and overlapped the three pictures. I erased the black background and placed my fourth scan, the moon picture, behind the blocks. I changed the filter on the moon and selected each column of blocks and changed the filter on each one. I wanted it to look like each column was a separate building with different colored lights.
Bannack 7: Best of Bannack

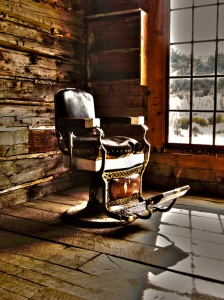
7. Chair; 10/20/2011; 1:18 pm; Bannack Ghost Town; f/5; 1/80; Canon PowerShot SX30 IS; Changed to painted effect in Photomatix
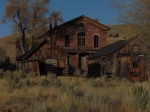
1. Hotel -2; 10/20/2011; 5:34 pm; Bannack Ghost Town; f/5.6; 1/800; Canon PowerShot SX30 IS; Bracketing

2. Hotel 0; 10/20/2011; 5:34 pm; Bannack Ghost Town; f/5.6; 1/200; Canon PowerShot SX30 IS; Bracketing
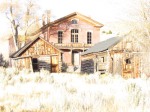
3. Hotel 2; 10/20/2011; 5:34 pm; Bannack Ghost Town; f/5.6; 1/160; Canon PowerShot SX30 IS; Bracketing
These are my favorite shots from the trip! I had hundreds to choose from, but these were my favorite edited shots. I love the first one of Erica, because of the lighting across her face and eyes. I especially love the background scenery. For edits, I enhanced her eyes, highlighted her hair, and added a warm light to the whole image. The second is of the sewing machine found in one of the locked buildings. I loved the delicate look of the drapes against the industrial look of the old machine. Only a slight vibrant enhancement was added. The third is a wheel found by some old tools, again it was the background that intrigued me and provoked me to take the shot. No edits were done to this picture. I like the fourth shot, because it seemed mysterious to me, it leaves the viewer wondering where the path will take you. I added a more vibrant color to this one. The fifth shot is of the church, it took me a while to really like this one, but I fell in love with the look of the wood and the story the buildings tell. I added blue to the top of the sky, because it was partially blown out. The sixth shot is by far my favorite! I love the angle and I love it even more in sepia. The seventh is of the chair, I opened the image in Photomatix and chose the painted effect. The last favorite is and HDR of the hotel and other buildings. Black and white added a more unique look to the image and I am very happy with the results. I thoroughly enjoyed this trip and learned so much more about capturing the perfect image and using editing techniques to make them even better!
Bannack 6: Light Paintings
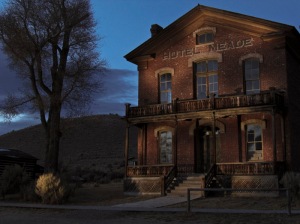
1. Light Hotel; 10/20/2011; 7:02 pm; Bannack Ghost Town; f/8; 4 sec; Canon PowerShot SX30 IS; Manual mode, self- timer and tripod

2. Light Boots; 10/20/2011; 7:10 pm; Bannack Ghost Town; f/8; 15 sec; Canon PowerShot SX30 IS; Manual mode, self-timer and tripod
The first light painting photo was taken outside just after nightfall. I placed my camera on a tripod with a 10 sec self-timer, and set my camera to manual. With a aperture of 8 and a shutter speed of 4 sec I took the photo. After the self-timer finished, someone used a giant flashlight to paint over the building and trees. After I uploaded the picture to my computer I decreased the saturation to add a more rustic look. For the second light painting, I again used a tripod with the self-timer and manual mode. This time the aperture was set to 8 and the shutter speed at 15 seconds. With there being a lot of people packed into the small room, it was hard not to get anyone in the shot, so after uploading the photo to my computer I blacked out the visible cameras.
Bannack 5: HDRs
For the first HDR I took three photos. One with -2 exposure compensation, one with 0 e.c, and one with a 2 e.c. After downloading the free trial of Photomatix, I uploaded the three bracketed photos. Photomatix blended the three pictures together and gave me several options of effects. I chose the effect that I did, because I liked the color and look of the sky as well as the windows and the front of the building. My second HDR was done with one photo, I opened the image in Photomatix. After some tone mapping, Photomatix again gave me effect options. I decided on this one, because I liked the rich red and greens it produced.

